Here we are again, he beginning of a new school year. We are back and going strong here in the art room. I already have students finished with their first art project...so the questions begin "What do I do, I'm done?" Oh yes, no what!? I am so tired of dishing out 'free draw,' model clay, drawing book stations...ect. So I am now planning to do a group project/collaborative art for early finishers. The first one of the year were these lovely free falling leaves. I had plenty of leaves mod podged through the years and templates made-so student were to trace, cut and create a leaf as real as possible. They used watercolor as a final touch of color. I hung the little mobiles but 1/2 a toilet paper roll and filled it by stringing on leaves. WAY better that wasting free draw paper! Plus- we work with warm colors, cutting, observations of leaf veins and a little watercolor practice. I plan on doing many more of these types of things for my early finishers!!
Tuesday, September 10, 2013
Friday, May 24, 2013
LAST DAY OF SCHOOL!!!
| Collaborative art-Ideas from Pinterest |
| Group Project- 5th Grade |
| Pirates by 2nd Grade |
| 2nd Grade Standing Pirates- Toliet Paper Roll taped to the back for a 3-d effect |
| 2nd Grade Standing Pirates |
| 2nd Grade Parrots |
| 2nd Grade Rainbow Parrots-End of the year Project |
| Last project for 1st grade |
| Flamingos-Last project by 1st grade: Idea- "365 Things to make and do" By Fiona Watt |
| Icecream soda Prints-Idea from: '365 Things to make and do' By Fiona Watt |
| Ice cream soda Prints-K |
| Icecream Soda Prints by Kindergarten |
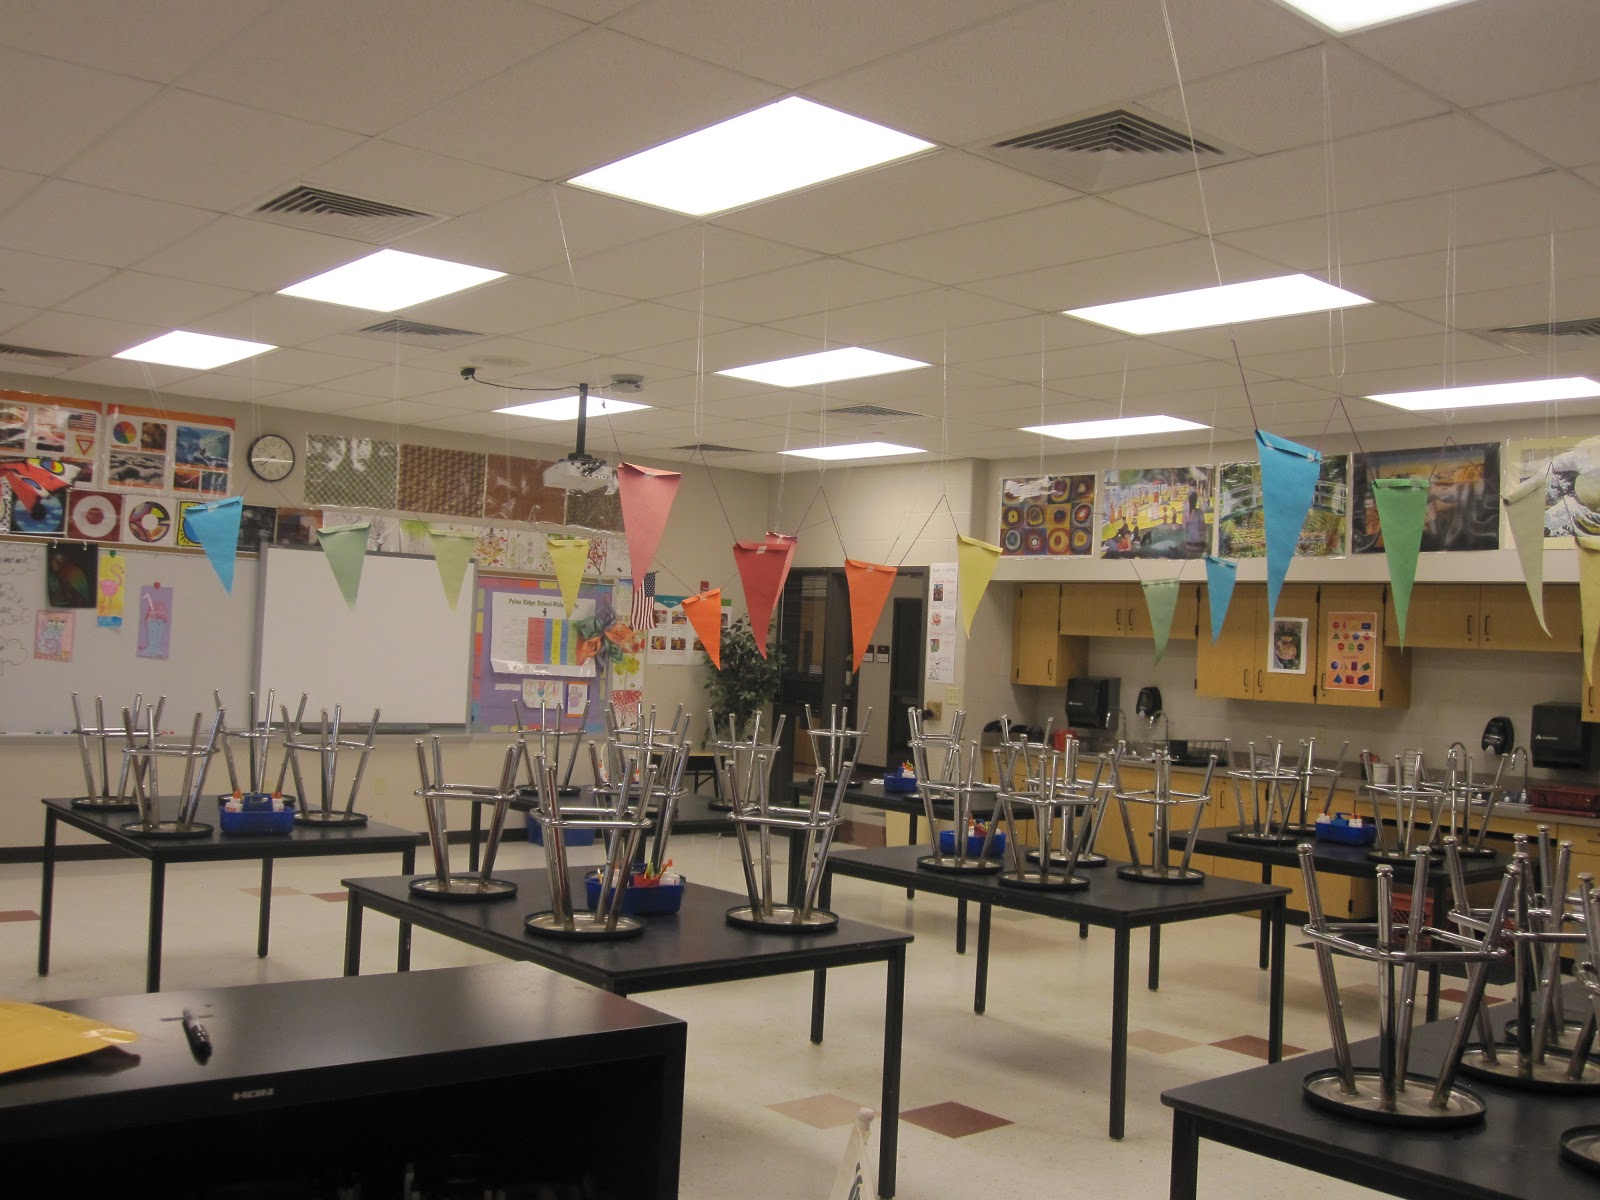
| Classroom at the end of the year |
This is it! The last day of school is here! I've had a hard time logging on to my Blog from school and home-so it's taken me a while to get a post up. Above are some of the group projects from the end of the year as well as some K, 1 & 2 last projects. It's all done, time to pack up & head out!! Thanks for a great year and I'll see you soon!!! HAPPY SUMMER!!
Thursday, March 21, 2013
Hanging 'round the halls
| 5th Grade Collaborative Art Mural |
| Asymmetrical Balance painting focused on balance in line, shape and color-based on artists Robert & Sonia Delaunay: 5th Grade |
| Mondrian Prints by Kindergarten |
| Clay burgers 4th & Cupcakes 1st grade |
| Pop Art Display |
| Cheetah's by grade 3 |
Here are a few pictures of the hallways lately. We are almost on spring break...woohoo!
Thursday, March 14, 2013
Clay Burger Update
Well I've definitely found a keeper! I love this project and the kids do too! We based the project on Pop Art and the way famous pop artist took and everyday object and made it into art. I fired the burgers with the toothpick inside to hold them together, then the students painted the layers and used Mod Podge to glaze and help hold the burger together. Some students got a new toothpick and put it back through, especially if they had an olive on top. I am very pleased with this project! Nice work 4th Graders!!!
Wednesday, March 6, 2013
CLAY Burgers-POP ART!
I started a pop art unit with 4th grade students this week. I have seen clay cupcakes floating around the Internet but I decided to go with clay burgers. I love Claes Oldenburg's food sculptures so I decided to base the project around him and pop art. The students had a BLAST on this project, lots of creative ideas. I held them all together with a toothpick. My plans are to pull the toothpick out before firing and return once the clay is cooled. I will have the students paint their burger and seal it with mod podge. I thought about glazing but decided tempera paints will look bright and 'pop artish'..so stay tuned for the end results! Glad to be back in the blog world! I hadn't had much to share because my classes were all working on the 'Square 1 Art' fundraiser...more on that later! Happy Wednesday Y'aLL!
Rainbow Love!
If you know me, you know I love rainbows! I organize anything from my clothes to paints to papers in rainbow order. Kindergarten students created this two step project. Step 1 was creating a cool color background resist with watercolors. I usually do this project alone and call it a winter cool color resist but my heart was telling me to try something new...or I saw the rainbow on pinterest and decided to add it on to the cool color resist :) The rainbow was made by torn or cut scraps of paper. I drew the arch for the students and they followed it. Goes good for March too!
Thursday, January 24, 2013
Collages-Alma Woodsey Thomas Style
Cut or torn-Alma Woodsey Thomas Collages...always a hit in 3rd grade and a super way to use up the scrap box that is overflowing this time of year.
Original post HERE
Original post HERE
Friday, January 18, 2013
Hearts-Jim Dine
I've done this project several different ways over the years but once again changed it up this year. I asked the students to follow the color wheel around when doing their crayon rubbing over the texture plates--making sure to overlap each color in order to achieve the intermediate colors. I base this project on actual and implied textures but now it's became a color wheel project too. The background was done with watercolor markers. At the end we added glitter for texture-I've also done foil in the past.
We also checked out several works of art by Jim Dine.
More Wolf Kahn Trees-3rd
I pulled this project out from two years ago (original post) and decided to change some things. We really always keep growing as teachers. I decided this time to have the students add a shadow to the trees using the color that would be the next shade darker. The students used oil pastels and pressed very hard with color #1 and then on just one side and branches with the next shade darker- color #2. On day 2 we studied the color wheel and chose contrasting analogous colors for the watercolor background. I added salt at the end and came out with a nice wintry scene. We also looked at several paintings by Wolf Kahn- HERE.
Wednesday, December 12, 2012
Christmas Project Over Load!
| A snapshot of the board examples...we're in the holiday spirit 'round here! So whatcha gonna do, I've been quite the slacker on my blog post, just a little busy I'd say. Here are just a few examples of what's happening in the art room. The kids are so excited this time of year and keeping them hard at work on holiday projects doesn't really seem like work at all! Some of the art projects are classic favs of mine and although I do like keeping new stuff floating in the mix, the older things keep getting better and better each year. The top is a newer project the 'Whimsical Tree.' I got this idea from a paint place here, where people can go in groups or for parties and paint, snacks, drinks and fun. Looks like a hoot, I haven't found one in the St. Louis area yet so if anyone knows of one let me know! I do know there is one in Columbia, MO here. Whimsical Tree-Basic step by step and watercolor fun! Next is the Candy Cane over lap project. I found this project years ago when the blog world was just a baby ;)-the post is here. Elf on a Shelf- Kindergarten Elf on the Shelf using simple shapes and lines. A huge hit with the Kindergartners who all have Elves in their classrooms. Snow globes by 4th graders- Read more here. String the lights- From 'Art Project Girl' a while back, couldn't find the link. Thanks for looking and Happy Holidays to ALL!!! |
Friday, November 9, 2012
Statue of Liberty & Patriotic Symbols
I credit this idea to BlueMoonPalette! I thought she had an awesome idea so I wanted to try it out myself. We've had an off week with conferences, professional development day...you get the idea. That however has left some classes leaps and bounds ahead of other classes...so that's when I break out a trial project-you know, one you've seen but didn't know where to fit it in, will it work...ect. So I tried this with a 4th and 5th grade and both did well. Honestly I can't tell the difference between the grades. We started with a ruler and sharpie--no pencils--have confidence folks! They could use diagonal, horizontal & vertical to fill the simple buildings. Students had to free hand the flag and they could color the flag with any medium, most chose markers. Right before we drew Lady Liberty together we watched this short film twice, yea TWICE--it has a lot of good information but it goes really FAST! The kids picked up more things the second time around. A good little project to teach about patriotism, fore-mid-background, pattern, color, shape..lots can go into this. I think I'll stash it and do it again next year.
Supplies:
12X18 White
Sharpie
Ruler
Any color medium
9X12 light green
Glue
Happy Veterans Day to all the Veterans! Thanks for all you do or have done for our country!
Below are two of my favorite veterans-my grandpas!
Miss you & love you both!
| Korean War Veteran- Donald Porter |
![]() |
| World War II Veteran -Wayne Briscoe |
Wednesday, November 7, 2012
Flag & Shading- Pastels
4th graders made these flags all while working with lines and shading. Using curved lines and shading with those curved lines made all the difference in this project. Students really had to work hard to create depth by using light and dark tones. We did lots of stepping away and looking to see how much flatter straight lines look compared with the roundness of the curved lines. Also looking that darkness recedes and lightness comes forward. These are big concepts for fourth grade, but they're oh-so smart! The end results are just wonderful! They go so well with our other veterans day decorations!
Supplies:
12X18 White
Rulers
Pencils
Red & Blue Chalk Pastels
Black or Blue Crayons
Day 1: Make 4 diagonal lines in opposite directions across a landscape paper. Curve the first row into frowns, and the second row into smiles...keep going with this pattern. Make simple stars ( upside down 'V', legs out & a 'W' doing the splits). Shade with pencil first making sure to use curved lines rather than straight.
Day 2: Shade the same with the red pastel as the pencil (on the sides) and use your pointer finger to blend the red for a lighter/softer tone. Make sure to curve with the smile or frown shape. Outline the stars in black or blue crayon and do the same as the pencil and red only top left of course is the blue. This took 2 full one hour classes.
Subscribe to:
Posts (Atom)